
Struggling to format your Passport for Mac? You’re not alone.
Many Mac users find themselves puzzled when it comes to preparing their external hard drives for optimal use with their Apple devices. Whether you’re looking to create more storage space, ensure compatibility, or simply keep your data organized, knowing how to format your Passport for Mac can make a world of difference.
Imagine the peace of mind that comes with knowing your files are safely stored and easily accessible. In this guide, you’ll discover a straightforward, step-by-step process to format your Passport for Mac, ensuring you get the most out of your device. Let’s dive in and empower you to take control of your digital storage today!

Credit: www.youtube.com
Preparing Your Passport Drive
First, connect the Passport driveto your Mac. Wait until the computer sees it. Open the Disk Utilityapp. You find it in the Applications folder. Choose the Passport drive from the list on the left. Click the Erasebutton at the top. Pick the format called Mac OS Extended. This format works best with Mac. Name the drive anything you want. Hit the Erase button again. The process takes a few minutes. Your Passport drive is now ready. Use it to store your files safely.
Credit: recoverit.wondershare.com
Connecting To Your Mac
Start by plugging your Passport into your Mac. Use the USB cable that comes with it. Find an available port on your Mac. Wait for the Passport to show up on your screen. It will appear as an icon. Click on the icon to open it. You can now see the files inside.
Open Disk Utility on your Mac. Search for it in the applications folder. Select your Passport from the list on the left. Look for the Erase tab at the top. Click on it to start formatting. Choose the format you need. Mac OS Extended is a good choice. Click Erase to begin. Wait for the process to finish. Your Passport is now ready.
Accessing Disk Utility
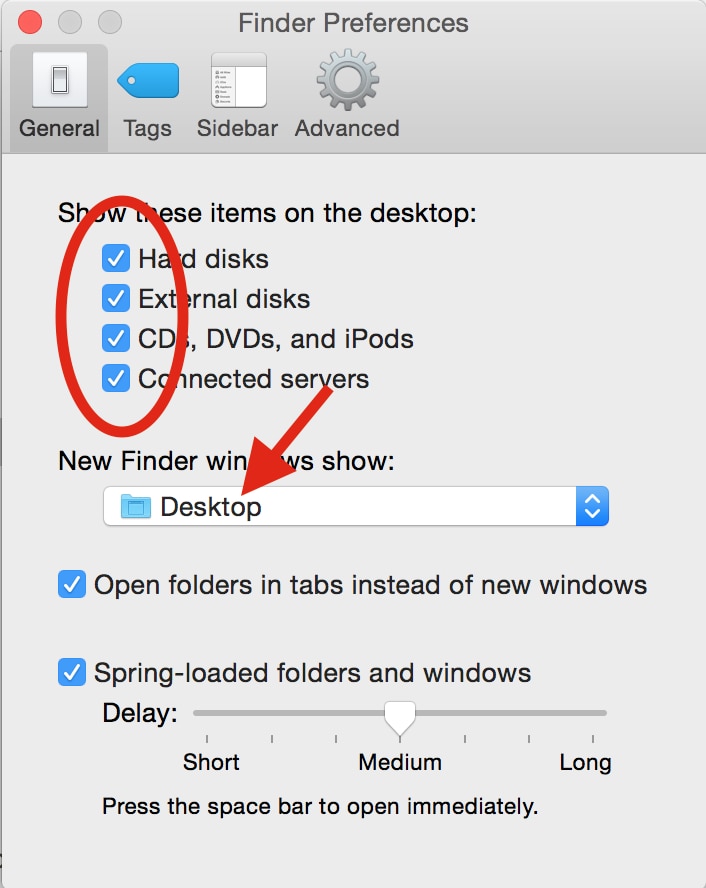
Open your Mac. Click the Finder icon. Look for Applications. Inside, find Utilities. Click Disk Utility. It helps manage disks. Select your Passport drive. You will see options. Formatting is one option. Be careful. Formatting deletes data.
Backup important files first. Use another drive. Or cloud storage. Once backed up, choose Erase. Choose format type. Mac OS Extended is good. Click Erase again. Your Passport will be ready. It will work with your Mac. Simple steps make it easy.
Credit: www.easeus.com
Choosing The Right Format
Picking the right format for your Passport on Mac is key. The HFS+ format is the best choice for Mac users. It works well with most Mac apps. If you need to use it with both Mac and PC, exFAT is a good option. It supports large files and is compatible with both systems.
NTFS is mainly for Windows users. It can be read on Mac but not written to. For Mac-only use, stick with HFS+. It offers better speed and features. Formatting can be done easily through the Disk Utility app on Mac. Always back up data before you format.
Executing The Format Process
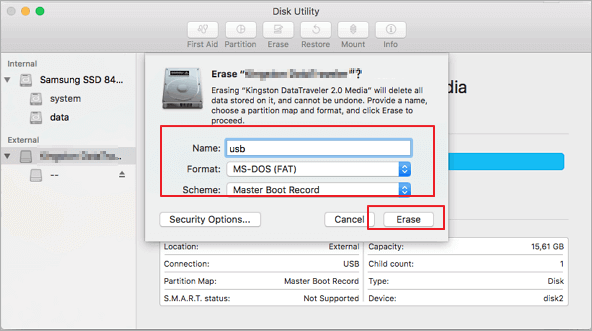
Formatting a Passport for Mac is simple. First, connect the Passportto your Mac. Open Disk Utilityon your Mac. You’ll find this in Applications under Utilities. Once open, find your Passport drive in the list. Click on it.
Look for the Erasebutton. Click it. Choose the format type. Mac OS Extended is a good choice. It’s perfect for Mac users. Name your drive. Click Erase again. Wait as the format completes. It may take a few minutes.
Once done, your Passport is ready for use. It’s now formatted for Mac. You can store files easily. Enjoy your newly formatted Passport!
Verifying The Format
Connect your Passport drive to your Mac. Open the Disk Utilityapplication. This app helps you see if your drive works with Mac. Look for the format type. It should say Mac OS Extendedor APFS. If it says something else, you might need to format it.
Check if the drive is read-only. This means you can’t save files on it. Click on the drive name in Disk Utility. Look at the bottom. If it says read-only, formatting is needed. Make sure to back up your files first. Formatting will erase everything.
Frequently Asked Questions
How Do I Format My Passport To Mac?
Connect your Passport drive to your Mac. Open Disk Utility, select the drive, and click “Erase. ” Choose a format like “Mac OS Extended (Journaled)” or “exFAT. ” Click “Erase” to format. Ensure all important data is backed up before formatting, as this process will delete everything on the drive.
How Should I Format My External Drive For Mac?
Format your external drive using Disk Utility on Mac. Select “Erase” and choose “Mac OS Extended (Journaled)” or “APFS. ” Click “Erase” to complete. This ensures compatibility and optimal performance with Mac systems. Remember to back up important data before formatting.
Can Wd My Passport Be Used For Mac?
Yes, WD My Passport can be used for Mac. You need to format it to macOS-compatible file systems like HFS+ or APFS. Use Disk Utility on your Mac for formatting. This makes it compatible and ready for Time Machine backups.
How Do I Make My Passport For Mac Work On Windows?
Install the Passport for Mac software on your Windows using compatibility mode. Update drivers and check for software patches. Ensure your device is connected properly, and restart if needed. If issues persist, contact technical support for assistance.
Conclusion
Formatting a Passport for Mac doesn’t have to be complex. Follow the steps outlined earlier. You’ll get it done quickly. Now, your Mac can easily read and write to your Passport. Always ensure you back up important files. This prevents any data loss.
Remember, a well-formatted drive enhances performance. Enjoy smoother file transfers and better storage management. Your Passport is ready to go. Troubleshoot if issues arise. Most problems have simple solutions. Keep learning and exploring new tech tips. Your Passport will serve you well for years.
Happy computing!