
Need to cut your passport photos but don’t know where to start? You’re in the right place.
Cutting passport photos might seem tricky, but with the right tips, you can do it quickly and perfectly at home. Imagine saving time and money by avoiding trips to the store or expensive services. In this guide, you’ll learn simple, step-by-step methods to get your photos just right.
Keep reading, and you’ll master the skill that makes your passport application hassle-free.
Choosing The Right Photo
The passport photo must be the correct size. Usually, it is 2×2 inches. Check your country’s specific size needs. Use a ruler to measure the photo. It must be exact to avoid problems.
A plain, white background is best. This makes your face stand out. Avoid shadows on your face. Use natural light if possible. Stand near a window for soft lighting. A bright photo shows details clearly. Avoid using flash directly on your face. It can create harsh shadows.
Credit: www.walmart.com
Gathering Tools
Choosing between scissorsand a paper cutterdepends on how precise you want your cuts. Scissors are easy to use but may cause uneven edges. A paper cutter offers cleanerand straightercuts, perfect for small photos.
A ruleris important to measure the exact size of the passport photo. Use a ruler with clear markings to avoid mistakes. Measuring tools help keep cuts accurateand consistent. A pencil or fine-tip pen can mark cutting lines gently.
Measuring The Photo
Passport photos usually need to be 2 x 2 inchesin size. This size fits most official forms. Other countries may have different rules. Always check your country’s requirements before cutting.
| Country | Photo Size | Face Size |
|---|---|---|
| USA | 2 x 2 inches (51 x 51 mm) | 1 – 1 3/8 inches (25 – 35 mm) |
| UK | 35 x 45 mm | 29 – 34 mm |
| Canada | 50 x 70 mm | 31 – 36 mm |
Mark the cut lines with a pencil before cutting. Use a ruler to draw straight lines. This helps to cut accurately and keep the photo neat. Cut slowly and carefully along the lines. Avoid cutting too close to the face or edges.
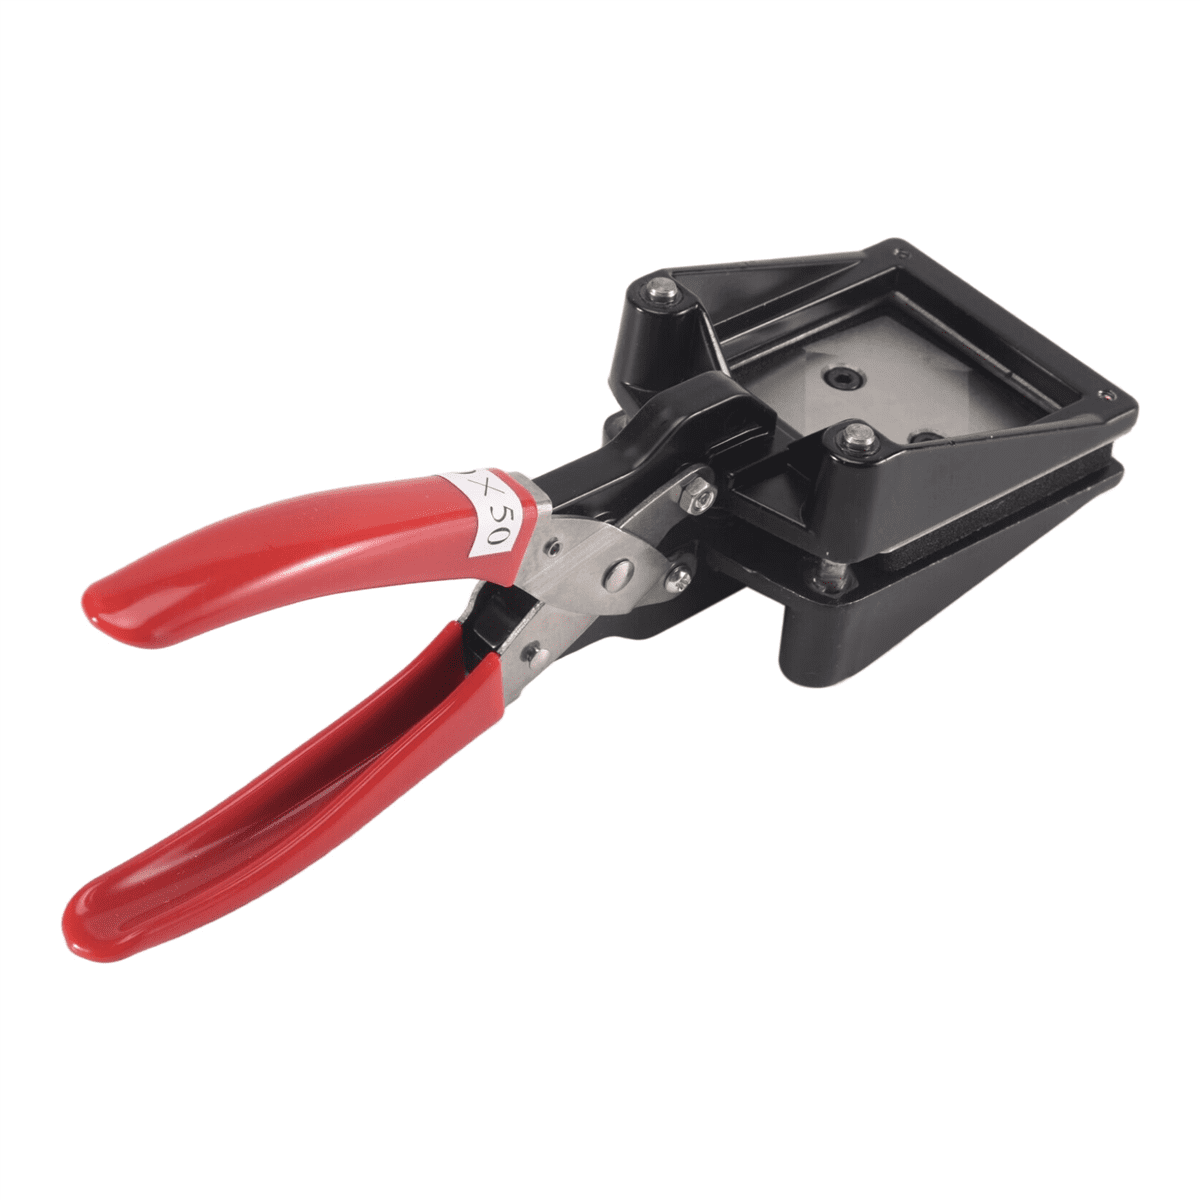
Cutting Techniques
A paper cutter helps in making clean, straight cutson passport photos. It reduces errors from hand cutting with scissors.
Place the photo on the cutter’s base, aligning it with the guide marks. Hold it firmly to avoid slips. Press the blade down slowly for a smooth cut.
- Ensure the photo fits within the cutter’s size limits.
- Check the measurement marks before cutting.
- Use a new blade for the best results.
This method is fast and gives accurate edges. It also saves time when cutting many photos.
Checking The Final Size
Check the final sizeof the passport photo carefully. Use a ruler or measuring tape for accuracy. The standard size is usually 2×2 inches (51×51 mm), but sizes can vary by country.
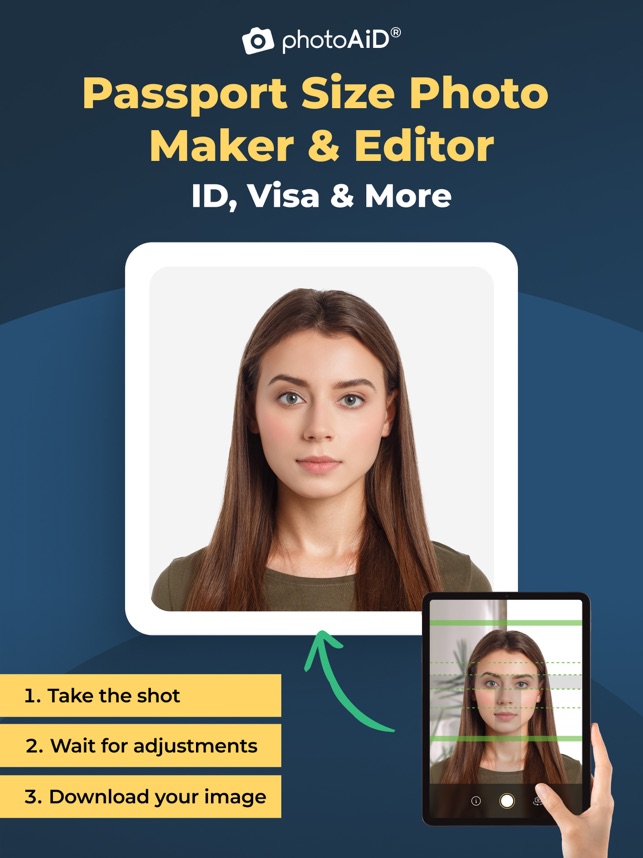
Using a template or guidehelps ensure the photo matches official size rules. Place the photo on the template and see if it fits well. This shows if the photo is cut properly.
If the photo is too large, trim the edges slowly and carefully. If it is too small, try printing a new photo at the correct size. Make small adjustments to avoid cutting off important parts.
Credit: apps.apple.com
Common Mistakes To Avoid
Cutting passport photostoo small or too large will cause problems. The photo must meet exact size rules. Small photos might get rejected. Large photos may not fit the application. Use a ruler or template to measure carefully.
Damaging the photo is another common mistake. Avoid folding, tearing, or using sharp scissors that can harm the edges. Handle photos with clean, dry hands to prevent smudges or stains. Keep the photo flat on a clean surface before cutting to get neat edges.
- Measure the photo size before cutting.
- Use sharp scissors or a photo cutter.
- Do not fold or bend the photo.
- Handle with clean hands to avoid smudges.
- Cut slowly and carefully around edges.
Credit: immigcanada.com
Frequently Asked Questions
How Do I Cut Passport Photos To The Right Size?
Use a ruler and sharp scissors to cut precisely. The standard size is 2×2 inches for most countries. Measure carefully and cut straight edges for a professional look.
What Tools Are Best For Cutting Passport Photos?
A metal ruler, sharp scissors, and a cutting mat work best. These tools ensure clean, straight cuts and prevent photo damage during trimming.
Can I Cut Passport Photos At Home Accurately?
Yes, you can cut passport photos at home with the right tools. Measure carefully and cut slowly to maintain accuracy and meet official size requirements.
How To Avoid Mistakes When Cutting Passport Photos?
Measure twice and cut once to avoid errors. Use a steady hand and sharp tools. Always check size guidelines before trimming your photo.
Conclusion
Cutting passport photos is simple with the right steps. Use a ruler and sharp scissors for clean edges. Keep the photo size exact to avoid problems later. Always check the official size rules before you cut. A neat photo helps your application go smoothly.
Practice patience, and take your time while cutting. Small details make a big difference in passport photos. Follow these tips to prepare your photos with confidence. Your careful work saves time and stress at the passport office.
2 Responses